Kitchen ideas
Choosing ice-block moulds: sleeves, sticks and freezer space
A little freezer planning goes a long way. Compare mould shapes, portion sizes and the details that make homemade ice blocks easier to organise.
Start with the shape of your freezer
Choose an ice-block mould around three things: where it will freeze, how you want to hold the finished treat and the portion you want to make. A set that looks compact on a bench can be awkward in a shallow freezer drawer once you add its lid, sticks or supporting tray.
Before choosing colours, open the freezer and pick a real space. Check whether you can put something there without tipping it, then remove one portion without rearranging the whole shelf.
Three formats worth comparing
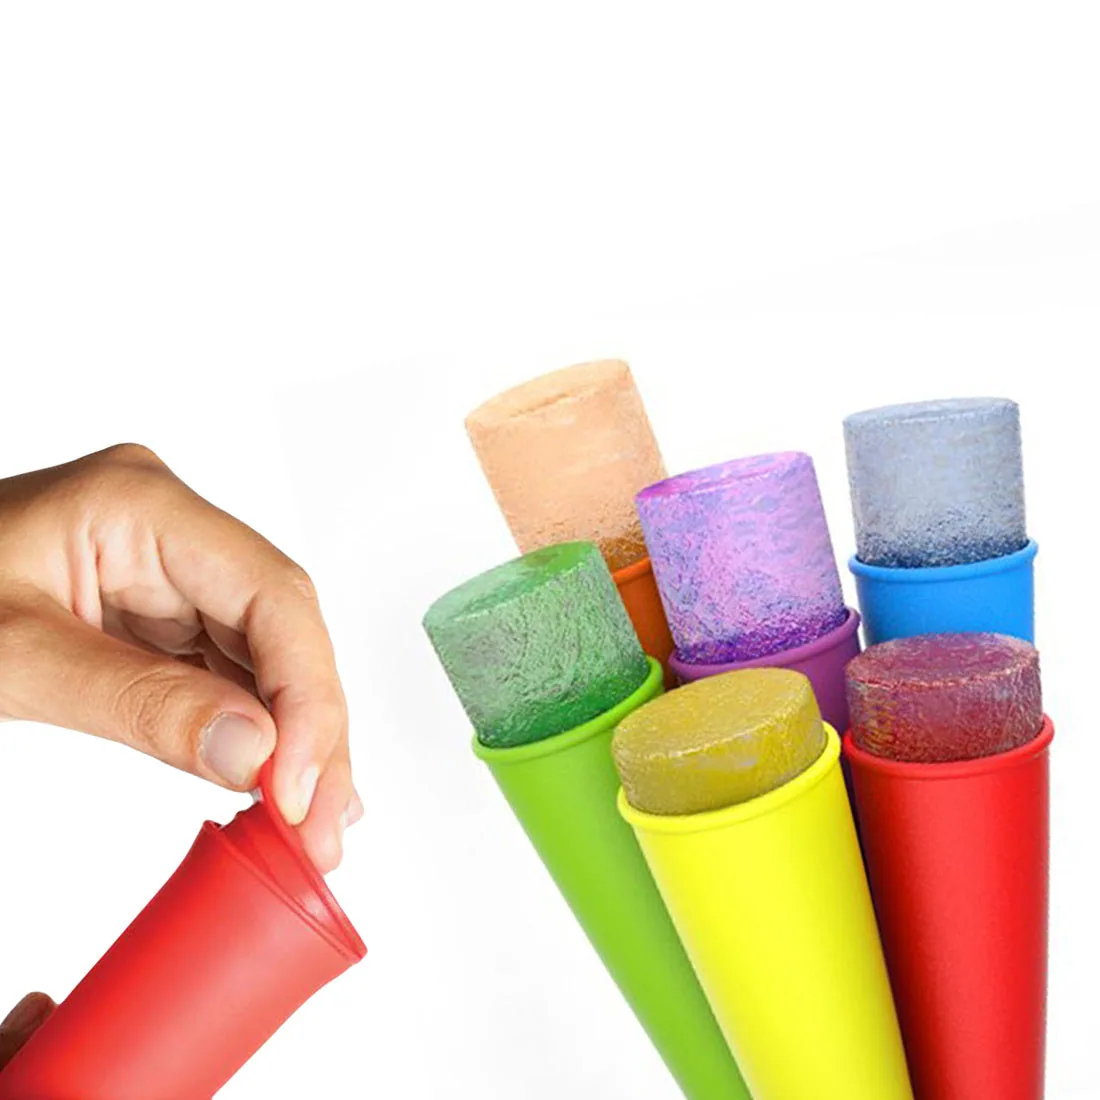
The original Colourblocker photograph shows six bright sleeves with frozen pops pushed above their rims. That is the appeal of a tube: the sleeve is also what you hold. It does not tell you how the filled mould must be supported or whether it can lie on its side.
- Push-up sleeves: check tube height, lid fit and the recommended position while freezing. Confirm whether a supporting base is included.
- Upright stick moulds: measure the complete base and stick height. Check whether individual moulds lift out or the whole set moves together.
- Flat stick moulds: check the tray footprint and any support needed to carry the filled mould from bench to freezer.
Allow for filling and carrying
Think through the short trip between your jug and the freezer. Where will the empty mould sit? Can you fill it without holding several parts at once? Is there room to fit the lid before lifting it?
For its flat silicone moulds, Kuvings advises using a small board or freezer-safe dish for support. ZOKU's Classic Pop Molds use a base with removable moulds and sticks. These are different products, linked below as examples of why the complete setup matters. Their instructions do not establish how Colourblocker's sleeves should be used.
Match the portion to the recipe
Compare usable capacity per mould, rather than judging size from a photograph. A recipe that makes six ice blocks in one set may fill a different number in another. Read its yield alongside the mould's recommended fill level before preparing a batch.
Follow the exact product's instructions for filling and release. Do not assume every flexible mould can be peeled, squeezed or warmed in the same way. If the listing omits those instructions, ask for them before choosing it.
Count the small pieces, too
Lids, reusable sticks and bases need somewhere to go between batches. Check whether the openings and any lid grooves are accessible for cleaning, and follow the care instructions for each component. A material name or a colourful photograph is not a dishwasher instruction.
Different colours can help you keep portions organised, but keep a separate note of ingredients when it matters. Colour alone should not be relied on to identify a recipe or an allergen.
Five things to confirm before choosing
Use this short list when comparing a new set or asking about our original six-colour moulds. Current availability and product specifications need to be confirmed by enquiry.
- The assembled dimensions, including the lid, sticks and support.
- The usable portion capacity and recommended fill level.
- The exact pieces included, plus any replacements available.
- The supported filling position and release method.
- The cleaning and drying instructions for each part.
Sources & product details
- Colourblocker: original six-colour ice-pop moulds ↗
- Kuvings: flat mould setup instructions for its own product ↗
- ZOKU: an upright mould and base example ↗
This story draws on original catalogue records and the sources above. It is not a recent hands-on product test.
Have a question or correction? Contact Colourblocker.